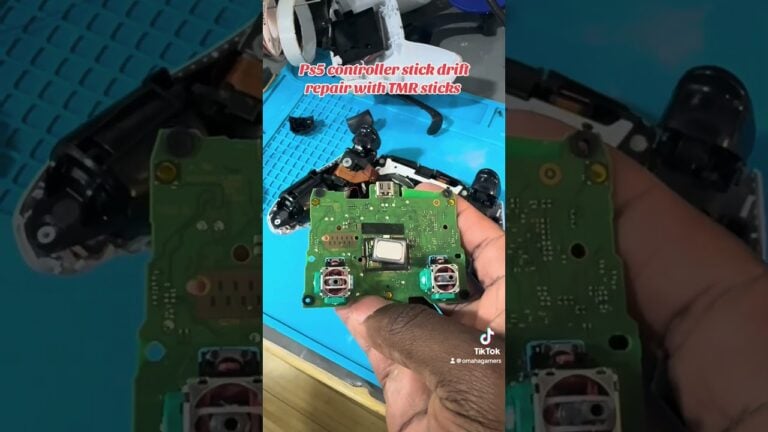

Your PS5 powers on. The light turns white, the fan spins, maybe you even hear the startup chime. But the TV shows No Signal. It’s one of the most common problems we see at our Omaha and Lincoln repair benches, and also one of the most misdiagnosed. Sometimes it’s a $10 cable. Sometimes it’s a cracked port that needs soldering. And sometimes it’s a small chip behind the port that you can’t see at all.
This guide covers the checks we’d run if you set your console on our counter, in the order we’d run them, so you can rule out the easy causes before paying for a repair.
Step 1: Rule out the TV, the input and the cable
It sounds obvious, but a lot of “dead HDMI ports” turn out to be something else.
- Use the HDMI cable that came with the PS5. Older cables, especially long or cheap “4K” ones, may not handle the PS5’s 4K/120 output. A cable that worked on a PS4 can fail on a PS5.
- Try a different HDMI input on the TV, and a different TV or monitor if you have one. Some TVs need “Enhanced HDMI” or “Input Signal Plus” turned on for that input.
- Take receivers and soundbars out of the chain. Connect the PS5 straight to the TV. An AV receiver that doesn’t support HDMI 2.1 passthrough is a classic cause of a black screen.
If a different cable and a different TV both show nothing, keep going.
Step 2: Boot into Safe Mode and reset the video output
The PS5 might be outputting a resolution or HDR mode your display can’t accept. Safe Mode forces a basic signal:
- Turn the PS5 fully off (hold the power button until it beeps and the light goes out).
- Hold the power button again. Release it after the second beep, about seven seconds in.
- Connect the controller with a USB cable and press the PS button.
- Choose Change Video Output, then Change Resolution or HDCP Mode.
If Safe Mode shows a picture, your port is fine and the problem is a setting. If Safe Mode also shows No Signal, the problem is almost certainly hardware.
Step 3: Look inside the port (with a flashlight)
Unplug everything and shine a light into the PS5’s HDMI port. A healthy port has a straight, flat plastic tongue in the middle with 19 tiny gold pins in two neat rows. Things that mean you need a repair:
- The tongue is bent, cracked or missing.
- Pins are pushed down, bent sideways or touching each other. This often happens when a cable is yanked at an angle, like when the console gets knocked off a stand or someone trips over the cord.
- The metal shell is pushed in or sits crooked compared with the case opening.
- You see debris, corrosion or scorch marks.
Important: if you can see bent pins, stop plugging cables in. Every insertion can push the pins further and short them against each other or the shell. That can turn a straightforward port replacement into a more involved repair.
Step 4: The “wiggle test” and other clues
Does the picture flicker in and out when you touch the cable? Does it only work with the plug held up or to one side? That points to a loose port or cracked solder joints where the port meets the motherboard. Both need the port removed and replaced. Glue, tape or wedging the cable won’t hold.
A few other patterns we see on the bench:
- Audio but no video, or video that drops when a game starts: often a failing port or a marginal cable.
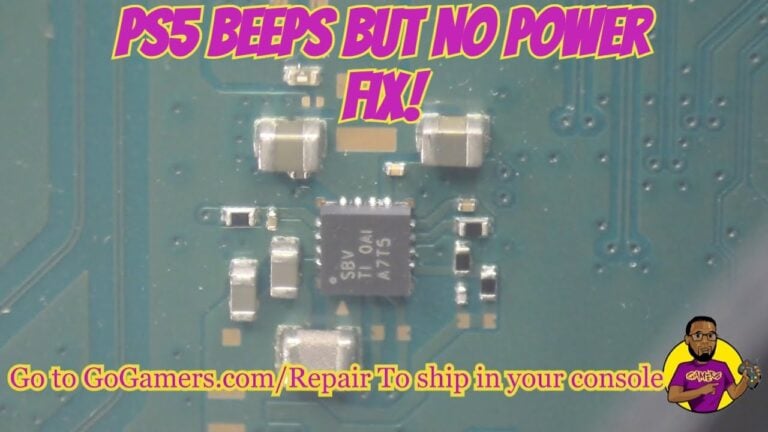
- The port looks perfect but there’s no signal anywhere, even in Safe Mode: this suggests the HDMI retimer chip (sometimes called the HDMI IC) on the motherboard. It sits between the processor and the port and can fail from power surges or after a hard cable yank.
- The console beeps and turns off, or won’t power on at all: that isn’t an HDMI problem. It’s a power fault, which is a different repair.
What a proper PS5 HDMI port repair involves
PS5 HDMI repair is board-level soldering, not a snap-in part. Here’s what happens when one comes across our bench:
- Disassembly: remove the covers, the shield and the motherboard. On the original PS5, the liquid-metal thermal interface on the processor means the board has to be handled carefully.
- Removing the damaged port: the old port is heated and lifted off with controlled hot air and flux. Rushing this step is how pads get torn off the board.
- Pad cleanup and inspection: we clean the pads and inspect every one under magnification. A missing pad means a trace repair before the new port goes on.
- New port installation: the replacement port is aligned and soldered, then each of the 19 pins is checked for bridges and cold joints.
- Testing: we reassemble the console and test video at full resolution, check the picture with the cable flexed, and run a game.
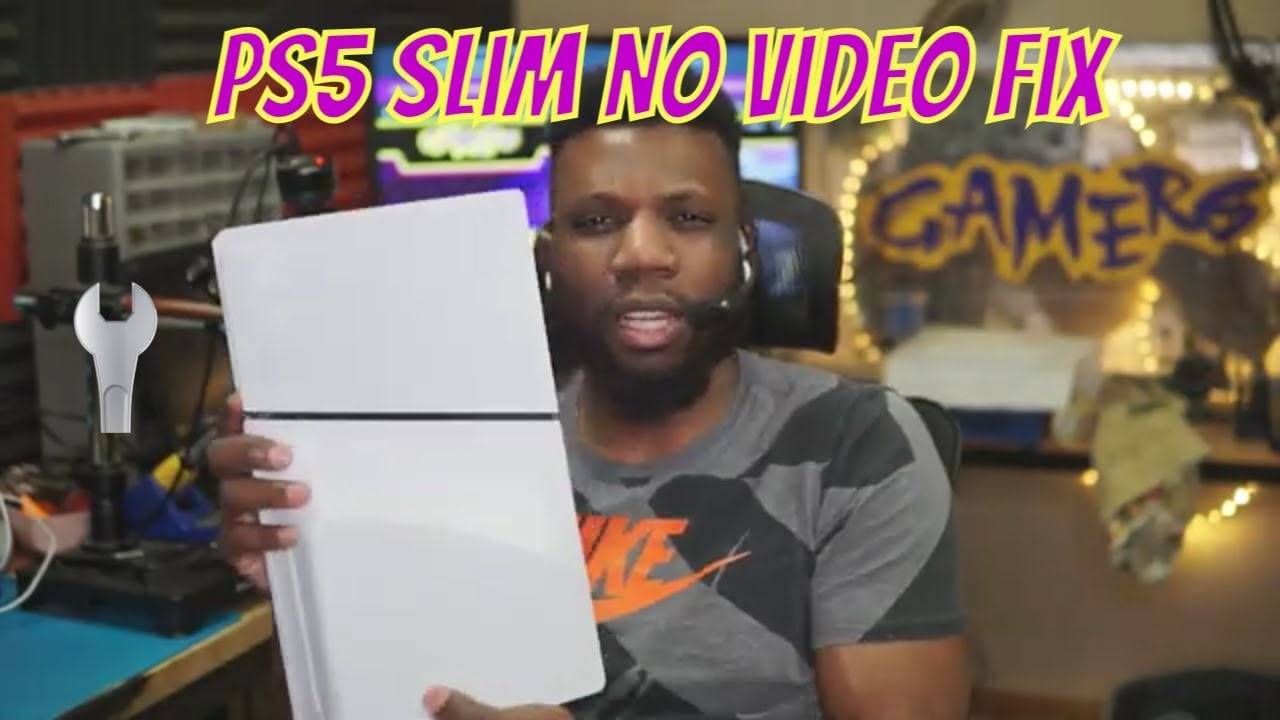
Here’s what that looks like on a PS5 Slim from our YouTube channel:
When the port isn’t the culprit, here’s a retimer chip repair:
A warning about cheap HDMI repairs
We regularly see PS5s that were “repaired” somewhere else and came back worse: lifted pads, torn traces, solder bridges between pins, or the wrong port installed. Many can still be saved with trace repair and jumper wires, but it’s slower and riskier than doing it right the first time. Before you choose a shop, ask whether they replace the port on site or send it out, what warranty they give, and whether they’ve done PS5 Slim boards (which use a different layout from the original PS5).
How to avoid breaking the port again
- Leave slack in the cable. Most HDMI damage comes from a console getting pulled or knocked while plugged in.
- Use a right-angle HDMI adapter or a short flexible cable if the PS5 sits in a tight cabinet, so the plug isn’t levered against the port.
- Unplug the HDMI cable before moving the console, even just a few inches.
- Use a surge protector. Surges can kill the retimer chip without any visible damage to the port.
Will I lose my games?
No. HDMI port and retimer repairs don’t touch the internal SSD, so your games, saves and settings stay put. You don’t need to back anything up for an HDMI repair, though cloud-saving with PS Plus is always a good habit.
Getting a PS5 HDMI repair in Omaha or Lincoln, or by mail
Omaha: bring it to our Omaha location for same-day repair. Questions? Call or text (402) 703-4403. Diagnosis is free, and if the item can’t be repaired there’s a $40 fee.
Lincoln: bring it to Game Repair Shop inside Gamers at 2711 King Ln, Ste 202 (Mon–Wed 12–7, Thu–Sat 12–8, Sun 12–7). The $25 drop-off fee is credited toward your repair, and turnaround is 3–5 days.
Sioux City, Council Bluffs, Grand Island, Kearney or farther: see options for out-of-town customers, or mail it in (free diagnosis, $40 if it can’t be repaired, 3–5 days after arrival, free return shipping). Every repair carries a 30-day limited warranty.
Full details: PS5 HDMI port repair.